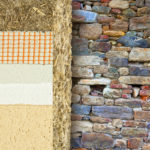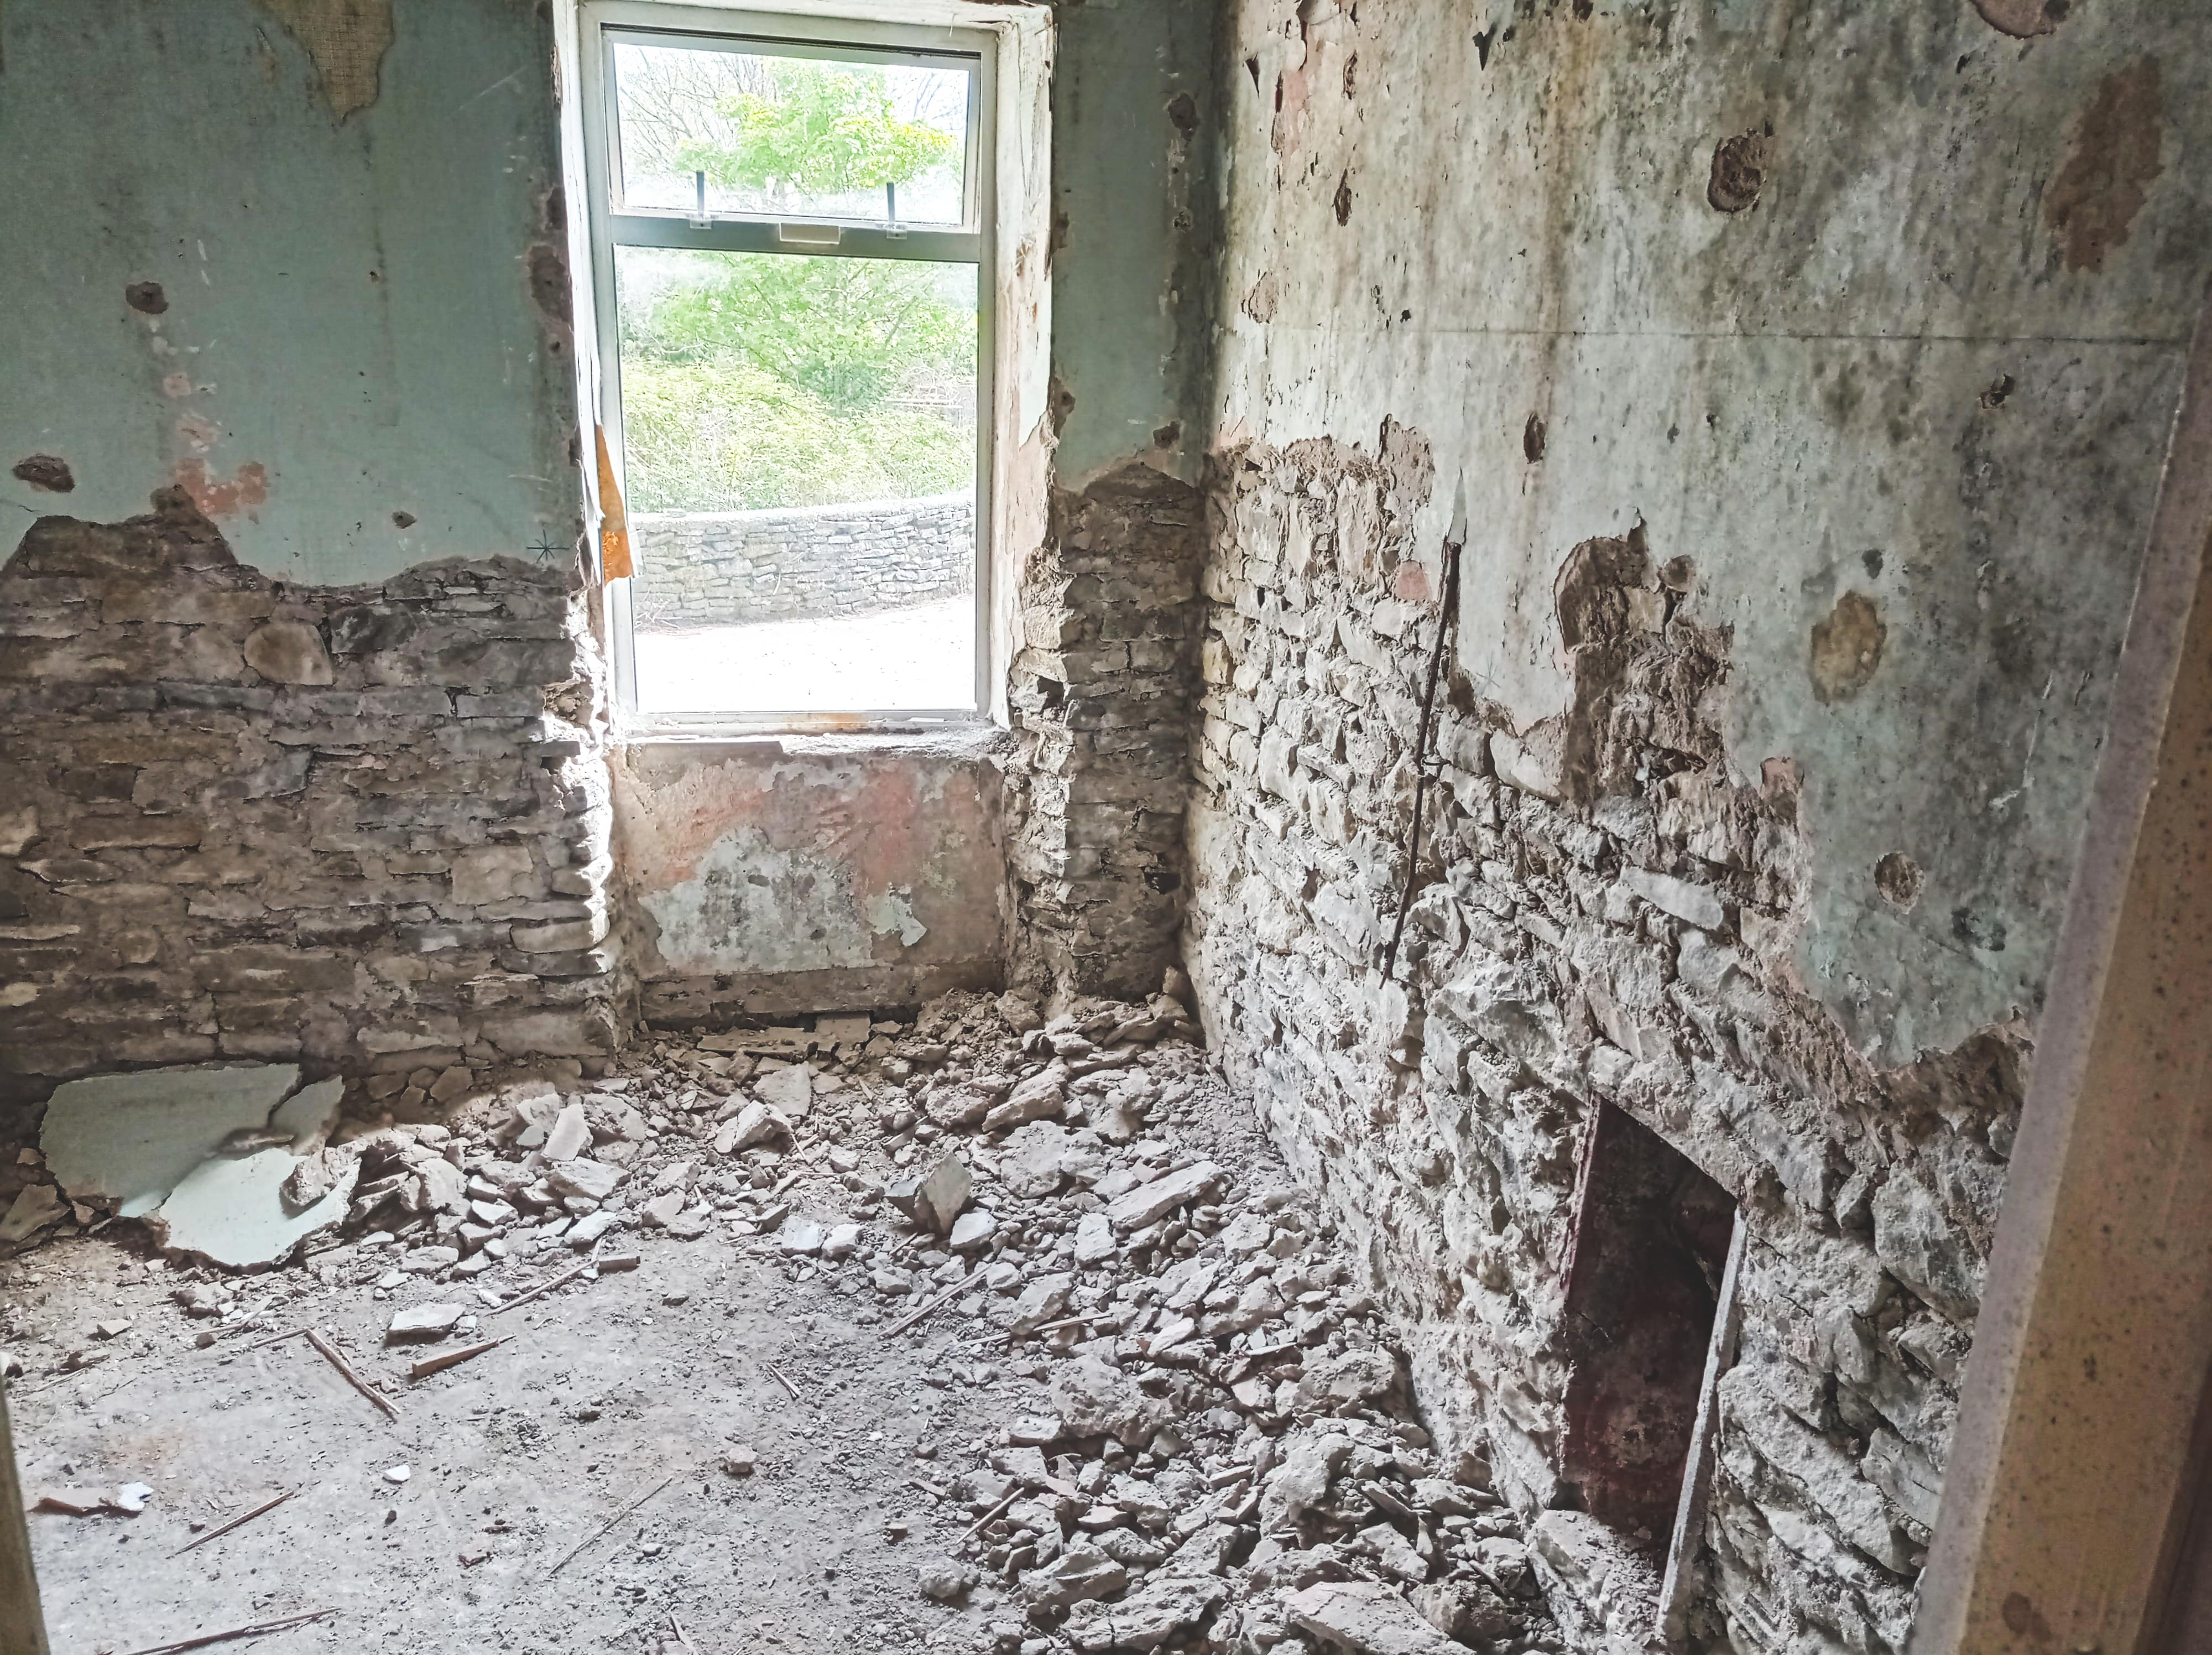
Our stone house requires a lot of pointing. But there are quite a few types of lime out there. If you are wondering what lime plaster should I use for pointing then search no further.
If you are working with cob, timber frame, strawbale, soft brick, or stone, then you can go for lime putty. Natural Hydraulic Lime 2 or Moderate Hydraulic Lime (NHL 3.5) is a great choice if the process includes soft brick or stone in an exposed area. Use NHL for stone and hard brick and Moderate or Eminent Hydraulic Lime for pointing to cellars and belowground works.
Keep on reading to find out more about the different types of lime. We will also be sharing a few tips on how to work with lime plaster, so, by the end of the article, you will be 100% ready to put your knowledge into practice.
Lime vs Cement
Here’s a quick recap of why more and more professionals nowadays choose lime over cement.
- Lime can be soft.
But there are also types that are practically as hard as cement, while the latter will always be rigid. So, lime plaster is a great choice especially for ‘moving’ structures. - Lime is breathable.
This fact will help you avoid plenty of problems in the future. Cement, on the other hand, doesn’t allow water to freely evaporate. - Lime is an amazing thermal insulator.
- Lime is naturally anti-bacterial.
You can basically forget about problems with mould. - Finally, lime plaster is recyclable.
Unfortunately, not a lot of people know that such plaster is even an option. A staggering percentage of builders don’t work with lime because they were never taught how to.
The only major disadvantage of lime plaster is that it requires more time to set.
Hydrated vs Hydraulic ; Non-Hydraulic Lime
Some lime-related terms might be confusing. Especially, when it comes to hydraulic and hydrated lime. You immediately understand that both of those have something to do with water, but what’s the actual difference between the two?
Hydrated Lime
Hydrated lime, slaked lime, calcium hydroxide, caustic lime – all these terms define the same inorganic compound.
To produce hydrated lime, experts take quicklime in the form of a powder (calcium oxide that is left from burning limestone), add just enough water, put it in the oven, and then pulverize the thing with H2O. The name of the process is ‘slaking’.
While quicklime is more reactive and incredibly challenging to handle, hydrated lime is a ‘safer’ substance. However, this type still requires some care as it can easily escape or get contaminated.
People use hydrated lime in steel manufacturing, leather tanning, and in the production of paints and plasters.
Hydraulic Lime
Hydraulic lime is, of course, also made out of limestone. But the main difference here is that the lime has some free silica (clay or other impurities) in it. The silica fuses with a part of “hot” lime (another name for quicklime) and forms a clinker.
That’s the reason why this type is called ‘hydraulic’. The substance will set, if you add water to it, because of the clinker.
It is much easier to work with hydraulic lime, in case it has been slaked. In such a way, the material becomes both ‘hydraulic’ and ‘hydrated’ at the same time.
More hydraulic limes are stronger and take less time to set, but they are simultaneously less flexible and breathable. NHL 5, for example, is the most hydraulic lime.
Non-Hydraulic Lime
But wait. We are not done yet.
There is also non-hydraulic lime (the putty limes that we mentioned at the beginning of the article). While the hydraulic type is ‘impure’ as it usually has silica in it, non-hydraulic lime is pure calcium carbonate. That’s exactly why the material will set only with the help of CO2 from the air (and this can take months).
Such lime is great for very soft bricks and for pointing masonry.
Which One Should You Go for?
For your convenience, we have come up with a simple table with the most important questions.
| Question | Preferred Lime Plaster |
| How hard is the material you are working with? | Remember that your plaster has to be softer than the material of the building. Non-hydraulic lime is the softest available option. NHL 5 is the hardest. |
| How exposed is the area you are working in? | If you are working in an exposed area, you would need the plaster to set fast and for it to be able to withstand harsh weather conditions. |
| Will there be a lot of movement? | There are flexible limes that will move together with the building. If you are working with a timber structure, for example, it is better to choose the least hydraulic lime. |
| Is the area damp? | Non-hydraulic lime is not an option for buildings with damp walls or for locations that experience damp weather. |
Different Types of Hydraulic Lime
Bear with us, as we are not quite done with different lime types. There are more hydraulic materials and those that are more on the flexible and breathable side. Let’s take a closer look at the various hydraulic limes so that you are able to figure out which one would be better for pointing in your specific case.
| Feebly Hydraulic Lime (Natural Hydraulic Lime 2, NHL 2) | Ashlar Hydraulic Lime | Moderately Hydraulic Lime (Natural Hydraulic Lime 3.5, NHL 3.5) | Eminently Hydraulic Lime (Natural Hydraulic Lime 5, NHL 5) | |
| Usage | On soft bricks; in covered areas; inside | Small masonry joints (3 and 6 mm), re-pointing | External work in a wide range of areas | In exposed areas (the main properties are very close to those of cement) |
| Percentage of clay and other impurities | Up to 10% | May contain crushed chalk and sand or crushed stone | 11 – 20% | 21 – 30% |
| Setting time | About a week or more | Sets slowly; looks like hard chalk | Within a few days | 1 day |
Bear in mind that the setting time will depend not only on the type of lime but also on the weather conditions and the overall mass of plaster in a single place.
Suitable Working Methods for Lime Plaster
Enough of the theory. Now that you know exactly what lime plaster you are going to need, here are some tips that will help you nail the job.
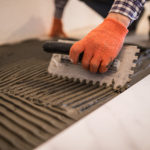
Appropriate tools
Do not use big tools that are larger than the actual joint.
Steel hooks and half hacksaw blades will come in handy. You can use power tools to help you remove old mortar. The right-pointing tool will become one of your biggest helpers as you can use the thing to press the mortar into the joint.
A bristled brush is great for clearing out any loose material. Later on, you can use another brush to ‘beat up’ the mortar and fully compact it into the joints.
Preparation
You would have to remove any previous mortars that you don’t like. Make sure to do it carefully as you can accidentally damage the masonry. When you’ll be clearing out the joints, start from the top and then go down.
Feel like you can’t get rid of the old mortars without damaging the whole structure? Then leaving it just the way it is might be a better decision.
You may have to rake out the joints even more. Simply make sure that the new plaster will be able to ‘anchor’.
Finally, spray some H2O into the joints to get rid of any debris; all surfaces have to be as dust-free as possible.
General Tips
- Pointing is a ‘bottom-up’ process. If you start from the top, gravity might ruin your work in no time.
- If you are re-pointing, your lime plaster shouldn’t be wet. It has to be sticky.
- Use the edge of your pointing tool to finish up the surface. This will help ensure maximum carbonation and evaporation.
- You might want to make a sample panel before beginning the actual process of pointing. These can become great control samples, for example.
Protection
Of course, the majority of lime plasters take longer to set, if comparing to cement. That’s exactly why the protection of the mortar is one of the main keys to success. Unfortunately, messing this step up might ruin all your previous work.
- Do your best to try and avoid rapid drying. It causes cracking and slows down the setting up process. Lightly spray new pointing on a regular basis.
- If you have chosen to work with hydraulic limes, it is crucial to lightly damp the pointing regularly. Remember that in order to set, such a type of lime has to react with water.
- You can cover your fresh work with poly sheets. Just place the sheets against the work for some extra protection.
Conclusion
Are you considering using lime plaster for pointing? You won’t regret your decision if you have enough patience to let the thing set properly.
You have a chance to choose between a wide range of lime types and pick the one that is perfect for your case. Make sure to follow our pieces of advice when looking for the appropriate tools and during the actual work process.
We hope you will fall in love with the end results. Good luck!